Using Kerberos configuration manager to resolve Microsoft SQL server SPN issues
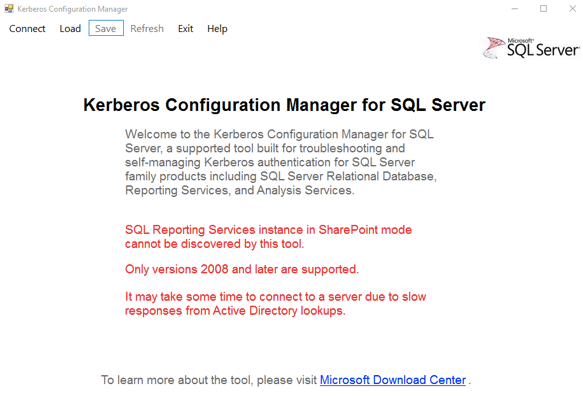 Connect to the desired SQL Server instance. Note: for the local instance, just leave all the fields empty and click on connect.
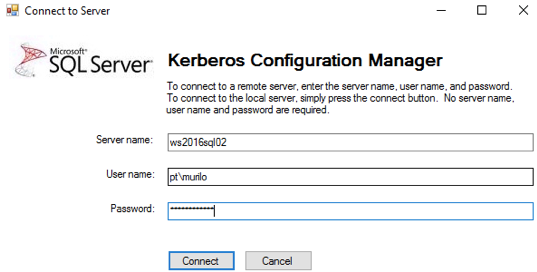
 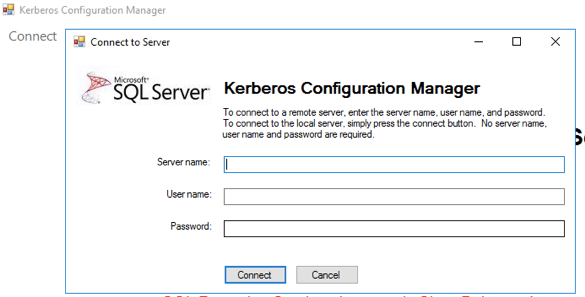 If you want to connect to a remote instance, to like the following (you can leave the “User Name” and “Password” fields empty for Windows Authentication:
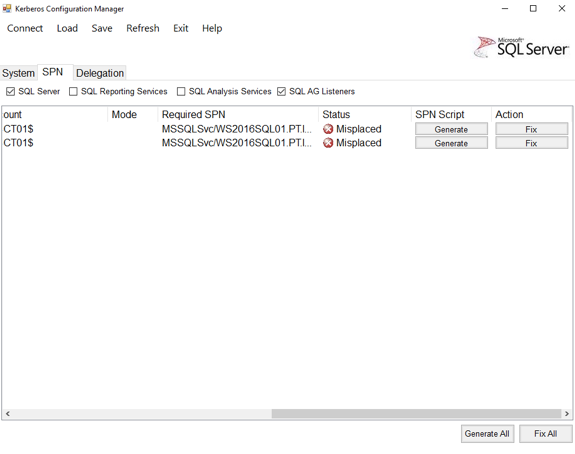
  After successfully connecting to the instance, all the related SPN will be shown. You can use the checkboxes on the top to filter the results. For the following case, I’m just showing the SQL Server related ones.
 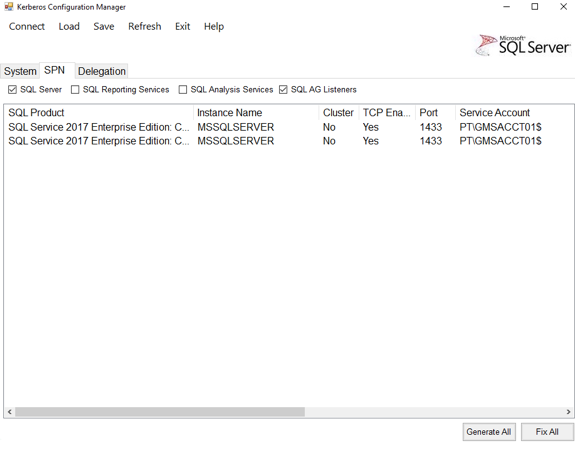 By scrolling right, you can see the status of each one of the registered SPNs. For the example below, both SPNs are “Misplaced”, so we need to fix it.
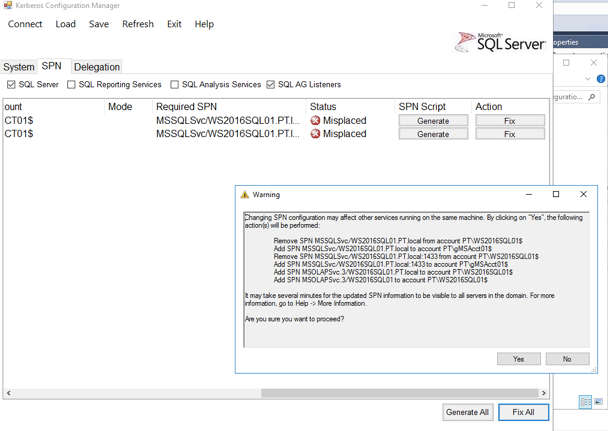
  To have the situation corrected, just click on “Fix All” button, and confirm (click “yes”) on the pop-up:
  After that, the tool is going to refresh the SPN status: All good here!
  That’s it! All you need to do is install the tool, run the SPN scan and fix the problematic ones. As soon as the situation is normal, you will be able to connect to remote instances without problems and without learning how to use with the “setspn” command.
Learn more about Pythian Services for Microsoft SQL Server.
Ready to optimize your Oracle Database for the future?
On this page
Share this
Share this
More resources
Learn more about Pythian by reading the following blogs and articles.
Removing SQL Reporting Services instances from scale out deployment


Removing SQL Reporting Services instances from scale out deployment
Dec 19, 2023 11:16:46 AM
2
min read
Troubleshooting SSPI handshake error
![]()
Troubleshooting SSPI handshake error
Dec 5, 2011 12:00:00 AM
2
min read
Improving Backup efficiency on SQL Server 2025 with the new ZSTD algorithm


Improving Backup efficiency on SQL Server 2025 with the new ZSTD algorithm
Jul 7, 2025 1:19:30 PM
6
min read
Ready to unlock value from your data?
With Pythian, you can accomplish your data transformation goals and more.
